



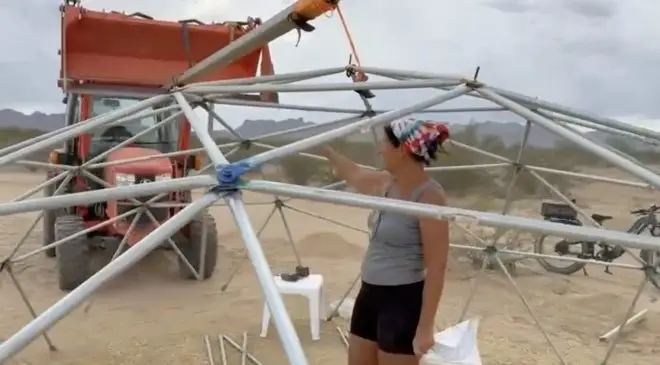
Assembling the Top of the Sphere + First Real Rain Test
Welcome to Occupy the Land. Donna and I assemble the
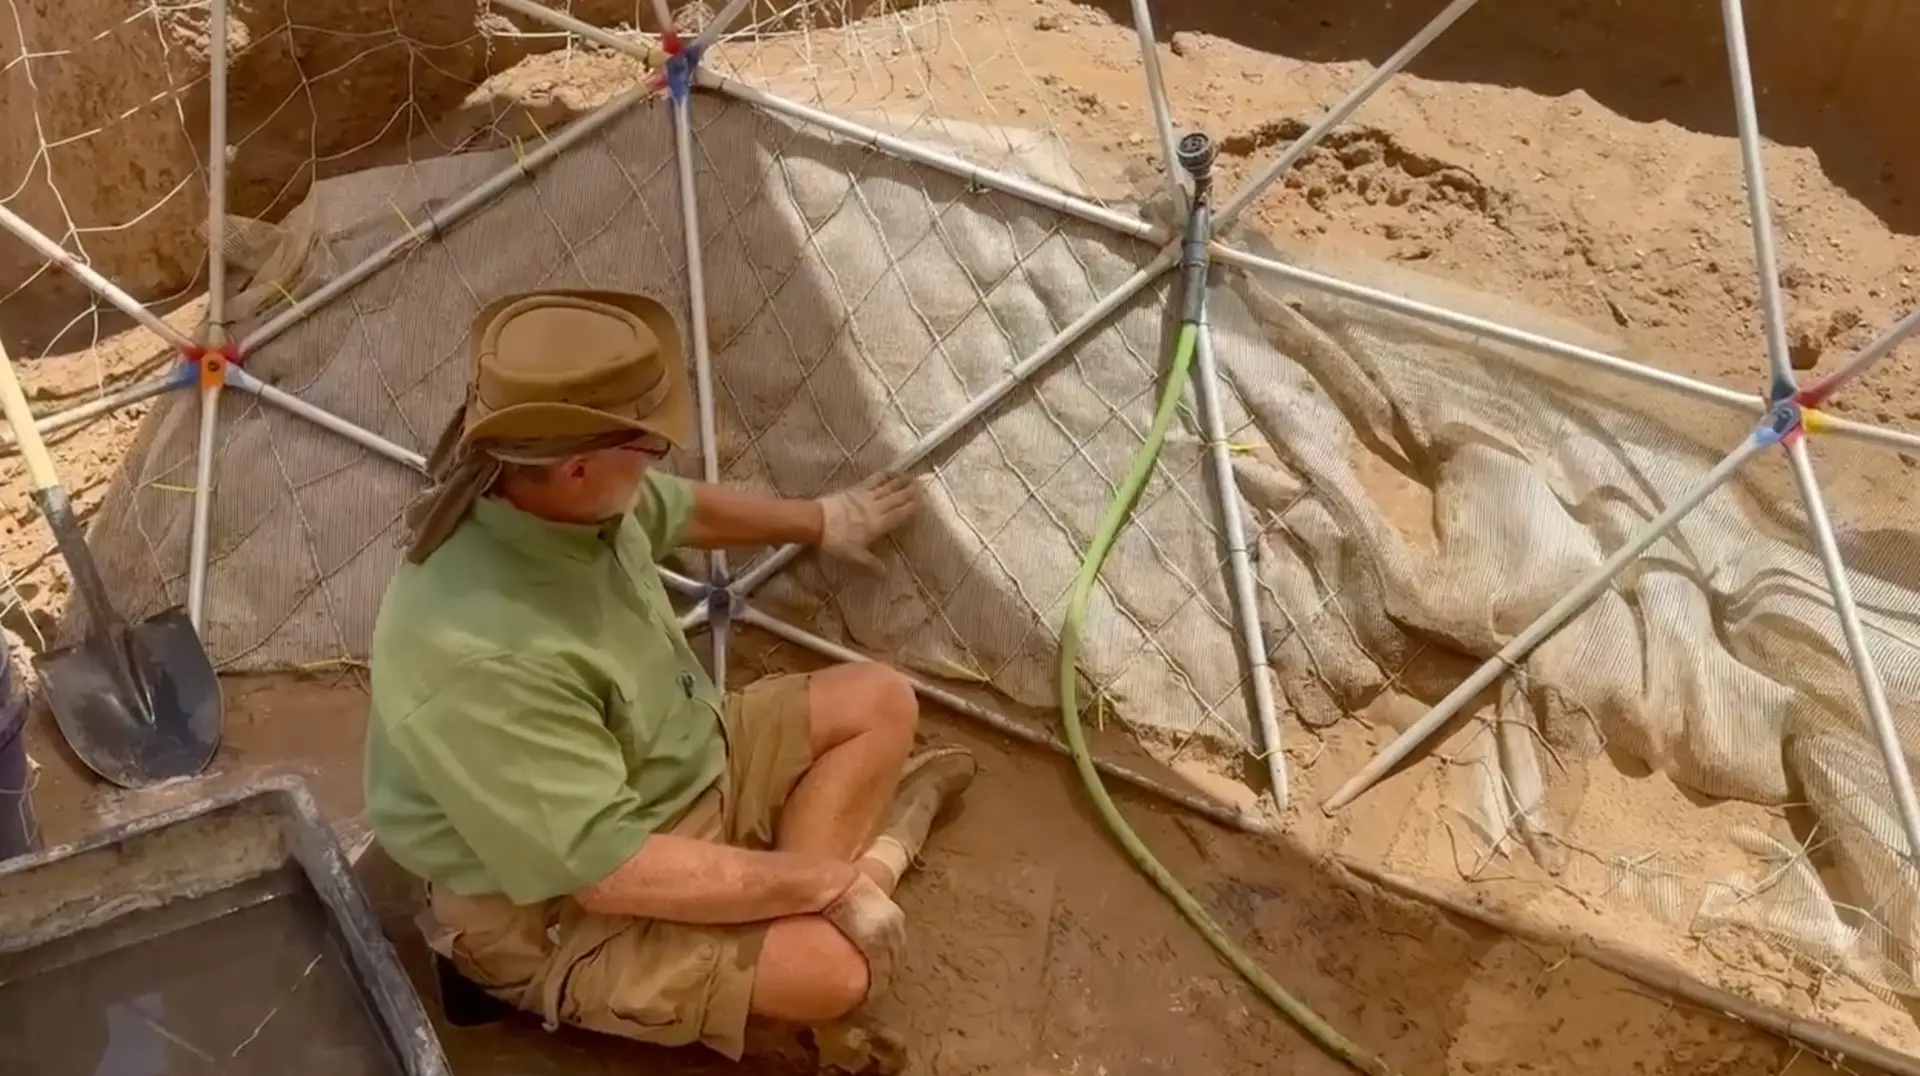
In this episode of Occupy the Land, we demonstrate the next stage of the 20ft geodesic sphere root cellar! With the floor leveled (within half an inch), we install cow fence and fiberglass mesh around the bottom struts, then mix sand-pond soil with a small amount of Portland cement (about 5%) to create a hard, reconstituting mud that packs against the structure. Watch the first test application, plans for sandwiching mesh layers, basalt-fiber stucco, and a final breathable heavy-lime white coat. We also show the sledgehammer hardness of the dried material and discuss the upcoming floor concrete pour. A clear look at the wall-building method before we head out for a couple of weeks—more heavy progress coming when we return! Peace.
Transcript:
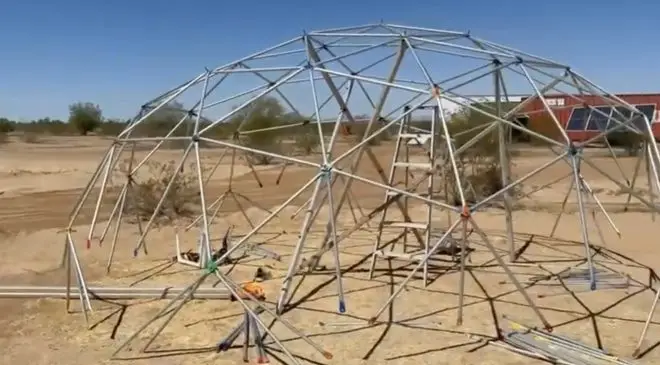
Welcome to occupy the land. Occupy the land. Now, the stage that we’re at now is we’re going to probably be doing the floor is next because it’s pretty level and we’re going to start building it up. But I wanted to go ahead and demonstrate and show you what the plan is. Now what we have is the struts for the sphere.
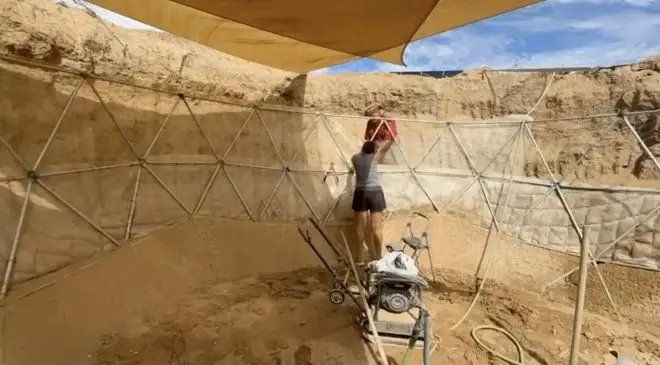
Then we put the cow fence here to support the mesh. Now what we’re doing is we’re going to put the mesh behind it here.
Now. Sometimes you need a grandson to help you get behind and put the mesh around. Now we’re going to go ahead and we leveled it out or check the level. And it’s pretty freaking level. This within half an inch, you know, around. So that’s pretty good. It’s about where we want the floor. So we’re going to go ahead.
Fence wiretaps to the struts on the first few feet. And we got a little bit more to go. But we’re going to go ahead and put this around so we can start back, filling it with dirt and mud and start demonstrating how that’s going to work. But I have to go around the outside and I could do it, but that’s what grandkids are for.
Yeah. Helper Kelly. Yeah, sure. Yeah. Whatever. So this is what we’re doing now.
Okay. Unwind the fiberglass mesh that will go around the bottom as I start adding the mud into the sides of it here. It’ll go up against that and then I’ll smooth it and we’ll just keep going up layer by layer by layer. So that’s what this is about.
This will hold back the soil. We wet it. And then when this stuff dries we constitutes it’s, you know, what they call it, which is like concrete. And so this will be fine. It’s already I left it like that.
It would be fine. But what we’re going to do is we’re going to seal this with mud, and we’re going to take this, that it turns to powder after we, you know, scrape it and grind it and so on. But once you get it wet and it reconstitute, it gets really hard. So we’re taking all of this soil from the layer in the sand pond.
Put it up here, put it back, tamp this down, wet it. And then this is what we’re doing. We’re just building it up and we’re going to go around. I’m going to give you a sample here just to see what’s up. And we want to play. So I’m going to go ahead and put some soil in this mixing.
And we have to have the big mixer on the tractor or the mixing barrel you know to do it. We’re just going to do it by hand just to demonstrate, because this is not the step that we’re going to do. We just want to show you and kind of get learned to fight on ourselves. So what we’ll do is we’ll go ahead and put this.
Soil in here with a little bit of Portland. We’re just going to do like one scoop. It’s like 5 to 10% that you put a Portland and now will really make it hard. And you can see what’s up. Now we’re going to build it up. And till it incorporates this strut it’ll fill up here get level. Then we’re going to take this fiberglass mesh and we’ll put it over it.
When it’s wet we’ll put it solidify. We may not do that today, but the idea is that we’re going to sandwich this. With that. Then we’ll put basalt fiber reinforced stucco on top of this. When we did the work pad in front of the welding workshop shipping container over there. The reason we did that is we tested like 4 or 5 different mixes and finishes.
And how. So we got a bead on. We think what we want to do now eventually the final coat is going to probably be heavy lime. The reason is, is that if we can do with the heavy lime, it’s like a whitewash and it’s really bright white and it breathes so that we can, you know, have it harden and the moisture will eventually over.
Now however long it takes come out and it’ll get really hard and it’ll be really white because I want to I want white and I don’t want to have to paint it because if I paint it, that’ll seal it and you want it to breathe a little bit. So that’s what we’re doing. We still need to finish with the wire fence going around and so on.
But we wanted to do this as a sample to give you an idea of how this is going to go. Now you’re just going to put some dirt in here, a little bit of Portland and we may do, you know, three and a half of these or just one or where we just need to do a sample. I don’t want to do too much until we want to do the whole thing.
We’ll get ready for that. But we’re going to be taking a trip. We’re going to be going for a couple of weeks. And we wanted to make sure that you kind of got an idea of what to look forward to when we get back, when we get heavy on this, because everything else is digging the whole building, the, the, the sphere, getting the struts all done, putting the wire on it, wire tying it, leveling the floor, getting all the equipment here and ready.
I mean, it’s a thing, but once we get in to doing this and we get this shell done, and we got an idea of how we’re going to do the floor and the ceiling up here for the second layer, because this bottom half is like the basement, it’s the root cellar. Then we have the workshop up top. Now go ahead and scroll up to the top of this.
That is the middle of the sphere. So you have another sphere that goes up. Another, 20ft dome means that the half that’s like ten feet ceiling inside. So we got, you know, and go ahead and show the wiring over there. So we have it ready to take the mesh and we’ll start putting that in. I mean it’s it’s not hard.
It’s just tedious. You know, it’s just, you know, three more hours out in 110 degree weather, you know, it’s that kind of thing. So we’re getting it, we’re doing it. And this is how it’s going to be done. So we’ll go ahead and let me just go ahead and mix this. And then I’ll just throw it up there and kind of trowel it.
And you can see what we’re going to be more self-explanatory. We’ll be right back.
Okay, now this is just the mud, this hard, concrete type stuff. You get it wet. It turns into this. And then when it dries, it’s like concrete. Now, what we added is just seven heaping shovel fulls of soil and like, two hoe blades full of this. So it’s kind of probably like 5% or so. It’s not much. And we don’t really have to do it.
I just wanted to test it to see how hard it gets, how fast. Because we’ve done mixes before, like in the testing of a lot of stuff over the pad in front of the welding workshop. And that was just a test. We tried like five different things, and this seemed to work the best because and you see, you got the gray line.
So I need to mix it some more. But the the concrete, the cement in here will bind it a little bit more. But that’s not really what I’m going for. And when we do the coat on top of this, it’ll be a lot more cement. You know, we’re going to do with basalt fibers. We’re going to do a lot of cement in there.
But you can see, you know it’ll come out. But it’s got these like little gray for it needs to be mixed some more.
Okay. Now we’re just doing this as a test. Just a demonstration to show you our first try at it. So I’m not really sure. Should we start from the bottom of the top? But what we’re going to do is we’re going to do the floor. The floor will come up. It’ll be about looks like about two, 2.5in. Now I’m going to on this level we’re going to put some fiberglass mesh this stuff, but some damage stuff that we had that we did over there and it worked really well.
So we’re going to go ahead and put that down and bed that add more soil about another half inch or three quarter inch to cover that. Then we’re going to go ahead and actually do a stucco cement floor and get it all nice and leveled. And it’s going to go in and work in this way. So we don’t want to have this, you know, too thick down here because we’re going to put the cement floor up into it.
Be about this level anyway you know about here where these ties are. So let’s go ahead and just put it on there and see what’s up.
Because I don’t know how much it’ll take of this. Hopefully I’m enough to do a thing. Now we could do the mixing bucket on the tractor and get a lot more done. And we may bring it down this ramp and just have it right there, and maybe we’ll bear it over, dump it from the top or something. And then we have the small one that we can do.
Or we can mix it this way and just do it as we want.
My experience with this is better. You just do it by hand.
And we did the prototype few years ago, one summer at a friend of ours. As a matter of fact, that’s one of the places we’re going to visit in. And about a week and a half will be up there in Washington, and they have a farm up there, and they let us play and do this kind of stuff on a prototype dome that we did, and it’s still there and it hasn’t had any cracks or anything.
You know, it’s been through a bunch of, you know, some winter and summers and so on. So we’re really appreciative that they allowed us to test that out. Plus they got a dome. So you know, but so it’s not like it’s totally new to us. But this is the first time we’ve done it with this desert dirt. Now before we’ve used different clays and so on.
We mixed and used the soil. And a lot of it’s just washed sand that we have here on the land that now we make use of. And we may go over and show you what we’re doing with the sand pond. Now, we had a good friend that goes, hey Ernie, I got big thick pond liner a 40 by 80.
It’s yours. You know, I haven’t used it and probably not going to go get it up in strawberry, Arizona. One is cabin that he has and I go, yes, thank you. We are I am down. So it’s if we get another 140 by 80 I get a 80 by 80. And you know we’re done. You know we’re good.
So that’s going to save us thousands of dollars right there. So you guys got building materials and stuff. You watched the program and you see where we’re at and what we’re doing. I shall take it and be part of it that way and not even have to do anything.
Well, holy crap, that goes pretty good. Now you can see it was just a floor. We’ll just go into it.
And that’s why we had the level out. Because we were.
Kind of seeing where the floor would go.
This doesn’t have to be perfect because we’re putting another layer of the actual stucco on this. I just wanted to get an idea.
It went through quite a bit. I thought I was going to have more left over, I guess not.
Now. When we get back in a couple of weeks, I guarantee this is going to be dry and it’s going to be hard.
Well, that was easy. So you can see that we just need to keep wetting this. And as we go up with the soil, you know, keep this wet so that it’ll pack well and then we tamp it down with a tamper and so on. And then we just do this. That’s it. You know. So this is going to make a nice finish.
Now what we’re going to have is another layer that’s going to be more semantic concrete. And I think we’re going to be experimented with that too. I’ve used lime before. And when you add lime it makes it more sticky. And that’s really good for when you get up, you know, higher and vertical. It’ll kind of stick more. But this is going to stick.
I’m not worried about that, you know. So we’ll go ahead. And this is all we really need to do I just wanted to test it. I get an old trowel that, you know, seen better days. And this is all I need to do because the finish coat is going to be more portly.
Now imagine this. All of this wall, the whole inside. Done with this. Now 2 or 3 people can do like Donna and I probably if we have the mixer down here, we can probably do this. If we use the tractor to bring in the soil now we can mix it in the mixing bucket in there, and then just open the door in the bottom and it just go into five gallon buckets and we just dump it on there.
So each one you saw how long it took me to do this triangle, five minutes or whatever. But we can go ahead and triangle, triangle triangle triangle triangle. But you got to get it ready. And we got to bring the soil back in. I just take the tractor up there. I just take the soil that we’ve gotten out of the layer from the sand pond, and I just dump it in there and kind of even it out to backfill this, wet it, you know, to make it hard and then just put this in.
So this is what we’re doing. And I want to expose that.
So we got to get an idea of where we’re at. That’s it. Okay. Now one thing I want to show you before we go is where’s the sledgehammer? Okay. When this stuff dries, it does this. I want you to see this going come up here.
This is just a demonstration. Now, this is you know, it’s rained a couple of times here recently, so maybe it’s softened it up. We’ll see. Probably not. Okay. I’m going to hit it here I’m going to give it a what fur.
That’s a sledgehammer. And you can take a pic and do the same thing and it hardly goes into it. This stuff is hard. I’m going to hit here full swing.
So you can see when that solidifies. Why add Portland.
This is the Portland mix we made yesterday, and put on the frame inside frame of the root cellar. And it’s still damp, still kind of wet, but hard.
Root Cellar Sphere Wall Demo: Mud, Mesh & Calcrete Techniquehttps://t.co/gEw5cFMeGn pic.twitter.com/IahjLSot7j
— occupytheland (@occupy_the_land) July 25, 2026
Welcome to Occupy the Land. Donna and I assemble the
Welcome to Occupy the Land. This week we turn the
Welcome to Occupy the Land. This week we keep chipping